
Most preventable outdoor incidents happen because something that should have been anticipated in planning was not. Not because the leader was careless or incompetent, but because the planning process was incomplete. A systematic planning framework does not guarantee nothing goes wrong. It ensures that the things most likely to go wrong have been thought about before the activity starts, and that there are plans in place for managing them.
Step One: Define the Activity Clearly
Before any other planning, write down exactly what the activity is. Not "a hike in the Blue Mountains" but "a 14km return walk on the Leura Forest Loop starting from Cliff Drive carpark, including the descent to Leura Cascades and the ascent via Gordon Falls, with a group of 16 and 24-year-old mixed fitness participants, in April conditions." The specificity of the activity definition shapes everything else in the planning process. Vague activity definitions produce vague planning.
Step Two: Know Your Group
Participant information is the most underrated part of planning. Relevant information includes: relevant medical conditions and medications (with participant consent to share with leaders), previous experience with similar activities, fitness level based on recent activity rather than self-assessment, any specific considerations like fear of heights, water confidence, or mobility restrictions. This information informs the risk assessment, the activity design, and the supervision approach. Collecting it through a participant information form before the activity is the appropriate mechanism.
Step Three: Site Reconnaissance or Research
If you have not done this activity in this location before, you need specific information about the site. This might come from a prior reconnaissance walk, from detailed trail notes from a reliable source (Wildwalks for NSW walks is generally good), from the relevant National Parks area office, or from recent trip reports from people who have done the same route recently. What you are looking for is: current track conditions, water source reliability, any closures or track damage, specific navigation challenges, and any site-specific hazards that would not be evident from a map or park website.
Step Four: Risk Assessment
The risk assessment is where you systematically identify hazards, assess the likelihood and consequence of each, and document the control measures that will be in place. Do this after you know the specific route, the specific group, and the specific conditions forecast. A risk assessment that is generic to the activity type rather than specific to this activity on this day is less useful than one that engages with the actual hazards. Common hazards for bush walks in NSW: heat and dehydration, navigation error, ankle injuries on uneven terrain, weather change, and in summer, snake encounters. Each of these needs a realistic control measure, not a placeholder.
Step Five: Emergency Plan
The emergency plan answers four questions: who is the emergency contact outside the group and what information do they have, what is the communication method in the activity area, what are the evacuation options from different points on the route, and what is the call-for-help threshold. The emergency plan does not need to be elaborate. It needs to be specific. "Call 000 and then call Jenny on 0412 XXX XXX who has the participant information sheet" is more useful than "contact emergency services."
Step Six: Equipment Check
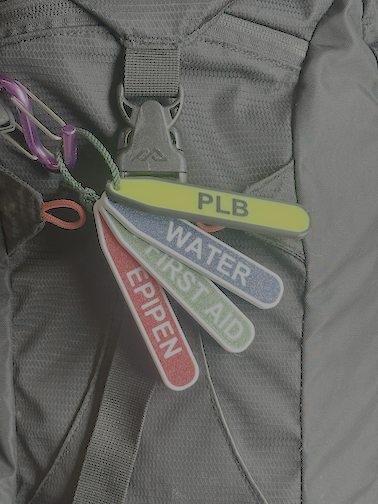
Go through equipment in two passes: leader equipment and participant equipment. Leader equipment is your responsibility to have and to check before the activity starts. First aid kit, communication device, navigation tools, emergency equipment. Participant equipment requires a brief check that people have what the pre-trip information said they needed. You cannot make adults carry specific gear, but for youth groups and organised programs, a gear check at the start is appropriate and the organisational documentation should specify what is required.
Step Seven: Briefing
The pre-activity briefing covers: where you are going and roughly how long it takes, the specific safety expectations (stay on track, stay in sight of a leader, no crossing water crossings independently), what to do if separated, what signs of distress to watch for and report, and any site-specific information. Keep briefings short and focused. Long briefings with too much information are not remembered. The three things people most need to know: where we are going, what to do if something goes wrong, and what the behaviour expectations are.
Recording and Reviewing
The plan you built before the activity should be recorded in LogsKeptSimple and linked to the activity log that is completed after the trip. After the activity, review the plan against what actually happened. Were the time estimates accurate? Were the hazards identified the ones that actually appeared? Did any issues arise that were not anticipated? This review process, done consistently, is how planning improves over time. A leader who has done this review process for twenty activities has a substantially more accurate planning model than one who has not.